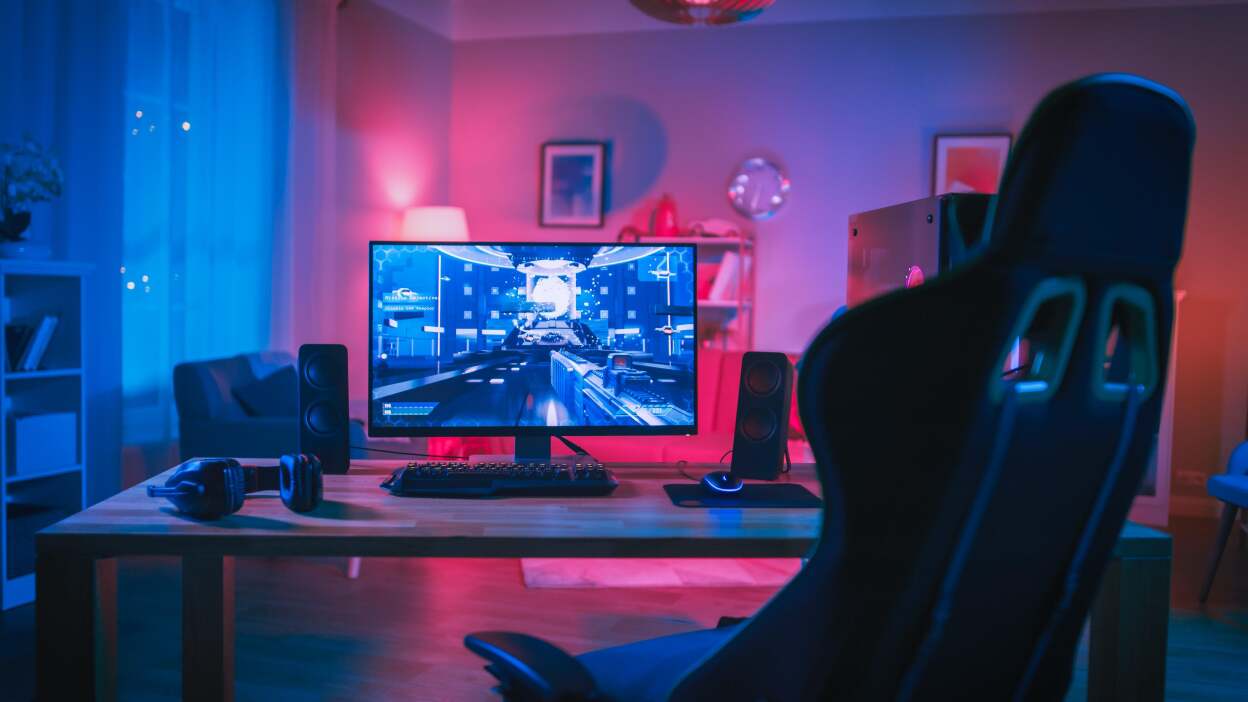
Building your first gaming PC can feel overwhelming — with so many parts, brands, and specifications to choose from, it’s easy to get lost. But don’t worry — whether you’re a beginner or a budding enthusiast, this guide will walk you through everything you need to know about building your own gaming machine.
Not only is building a PC more cost-effective than buying a prebuilt system, but it also allows you to customize performance, upgrade over time, and truly understand your hardware.
Let’s dive in step by step.
1. Why Build a Gaming PC Instead of Buying Prebuilt?
Before you order parts, it’s important to understand why building your own PC is worth it.
✅ Cost-Effective – You can often build a more powerful system for less money than a prebuilt one.
✅ Customizable – Tailor your system to your favorite games, performance needs, and budget.
✅ Upgradeable – Swap out parts anytime without being tied to manufacturer restrictions.
✅ Learning Experience – You’ll understand your system inside-out, making future troubleshooting easier.
If you’re serious about gaming, building your PC is the smartest long-term investment.
2. Setting a Budget
Gaming PCs can range from $600 budget builds to $3,000+ high-end machines. Your budget will determine your performance level.
- Budget Build ($600–$900): Great for 1080p gaming at medium to high settings.
- Mid-Range Build ($1,000–$1,500): Handles 1440p gaming at high/ultra settings.
- High-End Build ($1,800+): Best for 4K gaming, VR, and competitive esports.
💡 Pro Tip: Allocate 40–50% of your budget to the graphics card (GPU), since gaming performance depends heavily on it.
3. Essential Components You’ll Need
Here’s a breakdown of the parts you need to buy:
CPU (Processor)
The “brain” of your PC. It handles game logic, physics, and background tasks.
- AMD Ryzen and Intel Core are top choices.
- Example: Ryzen 5 7600X (budget/mid) or Intel i7-13700K (high-end).
GPU (Graphics Card)
The most critical component for gaming. It renders visuals.
- NVIDIA GeForce RTX series (3060, 4070, 4090).
- AMD Radeon RX series (6700XT, 7900XTX).
Motherboard
Connects all your parts. Choose one compatible with your CPU socket.
- Examples: B650 (for Ryzen) or Z790 (for Intel).
RAM (Memory)
Helps with multitasking and game performance.
- 16GB DDR5 is the sweet spot for modern gaming.
- For high-end builds, go for 32GB.
Storage (SSD/HDD)
- NVMe SSDs (fast load times). At least 1TB recommended.
- Optional HDD for extra storage.
Power Supply (PSU)
Provides power to your system.
- Look for 80+ Bronze or higher certification.
- Wattage depends on GPU/CPU (650W–850W usually enough).
Case
Holds everything together. Choose one with good airflow and cable management.
Cooling System
- Stock coolers work for budget CPUs.
- Aftermarket air or liquid cooling recommended for high-end builds.
Operating System (OS)
- Windows 11 (most compatible with games).
- Linux works but has limited support.
4. Choosing Peripherals
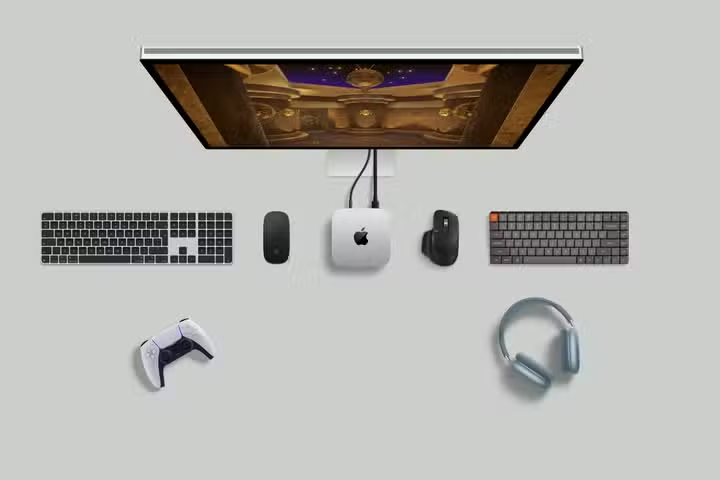
Your PC won’t be complete without peripherals:
- Monitor (1080p, 1440p, or 4K depending on GPU).
- Mechanical keyboard & gaming mouse for precision.
- Headset or speakers for immersive audio.
5. Step-by-Step Assembly Guide
Here’s a simplified process for building your gaming PC:
- Prepare your workspace. Use a large, clean table and anti-static precautions.
- Install the CPU into the motherboard socket.
- Attach the cooler (air or liquid).
- Insert RAM sticks into the correct slots.
- Mount motherboard inside the case.
- Install power supply (PSU) at the bottom/rear of the case.
- Insert storage drives (SSD/HDD).
- Install GPU into the PCIe slot.
- Connect cables (power, fans, front panel, etc.).
- Power on and check BIOS settings.
💡 Pro Tip: Always watch YouTube assembly tutorials alongside written instructions for confidence.
6. Installing the Operating System
- Create a Windows 11 bootable USB using Microsoft’s tool.
- Insert it, boot your PC, and follow the setup wizard.
- Install GPU drivers and essential updates.
7. Optimizing Your Gaming PC
Once your PC is up and running, you can tweak performance:
- Enable XMP/DOCP in BIOS for full RAM speed.
- Keep drivers updated (GPU, chipset, etc.).
- Use software like MSI Afterburner for monitoring temps.
- Adjust game settings for best FPS.
8. Common Mistakes to Avoid
- Buying mismatched parts (always check CPU–motherboard compatibility).
- Underspending on PSU (a bad PSU can fry your system).
- Poor cable management (leads to bad airflow).
- Skipping thermal paste (causes overheating).
9. Future-Proofing Your Build
A good gaming PC should last 5–7 years with upgrades. To stay future-ready:
- Get a motherboard with extra PCIe slots and RAM support.
- Choose a strong PSU (750W+) for future GPUs.
- Buy a case with good airflow and space.
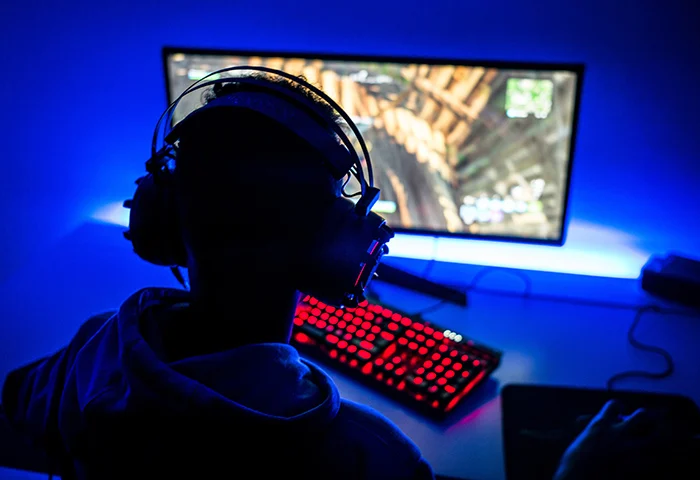
10. Final Thoughts
Building your first gaming PC may seem intimidating, but it’s an incredibly rewarding process. You’ll save money, gain valuable knowledge, and enjoy a gaming experience tailored to your exact needs.
The key is to set a clear budget, choose compatible parts, and take your time with assembly. Once you hit that power button and see your system light up, you’ll realize why so many gamers love building their own rigs.
Whether you’re aiming for smooth 1080p esports performance or breathtaking 4K ultra graphics, the right build will take your gaming to the next level.